BLOGLOVIN'

Follow

Wednesday 30 March 2016

My Freehand Peplum Dress

For Christmas I got Chinelo's book - Freehand fashion, which is basically marking your measurements onto fabric to make a 'bespoke' item, without any pattern!!  I totally loved the peplum dress so that was my first project.

First up, I got my husband to take the many measurements needed (which was in all rather amusing).

I picked my fabric - and for once took a sensible decision to start with a cheap lining fabric.  Its all rather scary really as you mark all these points onto the fabric and then cut!! What if your measurements were wrong?!  What if I've marked it on the fabric wrongly?  Should you actually cut to the markings or should you make it bigger just in case?   I decided, in for a penny in for a pound- so I marked it up exactly per the measurements and cut it exactly there- crossing my fingers and toes...

Here are some pics of the markings on the fabric (note to self could do with a more accurate chalk marker than the blunt thing I currently use)


Then I got the confidence to cut!
I quickly tacked the lining together to check if it was anywhere close to fitting- hey presto!! It fits!! Its not a perfect fit, but really not bad & it needs to go in,  not out... phew!!!!  The only issue I had with the lining is that the way you fold it, means both left & right back pieces are folded in the same direction, meaning I sewed one with the darts in the wrong side.  Good learning for next time- the process always puts one side on the wrong side so you need to invert the folds with the iron to get them right.

So then I had a go with the wool fabric I bought for the outside.  Given the peplum bit needs a decent amount of fabric (I couldn't work out how much from the book so i bought 3m just in case) so i got a cheapish wool from eBay- tan & black herringbone pattern.  I cheated here- rather than having to mark all the measurements out again (and seeing markings on herringbone wool is a bit more tricky than on a navy lining fabric... ) I made a paper pattern from the lining so I cut out the main fabric identical.  I m sure Chinelo would be appalled at my applying paper patterns to the freehand movement, but really what is the point in measuring it all out a second time when you can just draw round some paper and get it perfect!!
Working with the wool is much more tricky as its quite thick, the creases are quite difficult to see in it and I can't iron it too hot or it will burn.  On a positive, the herringbone has vertical lines in it which help for putting zips in straight!!!


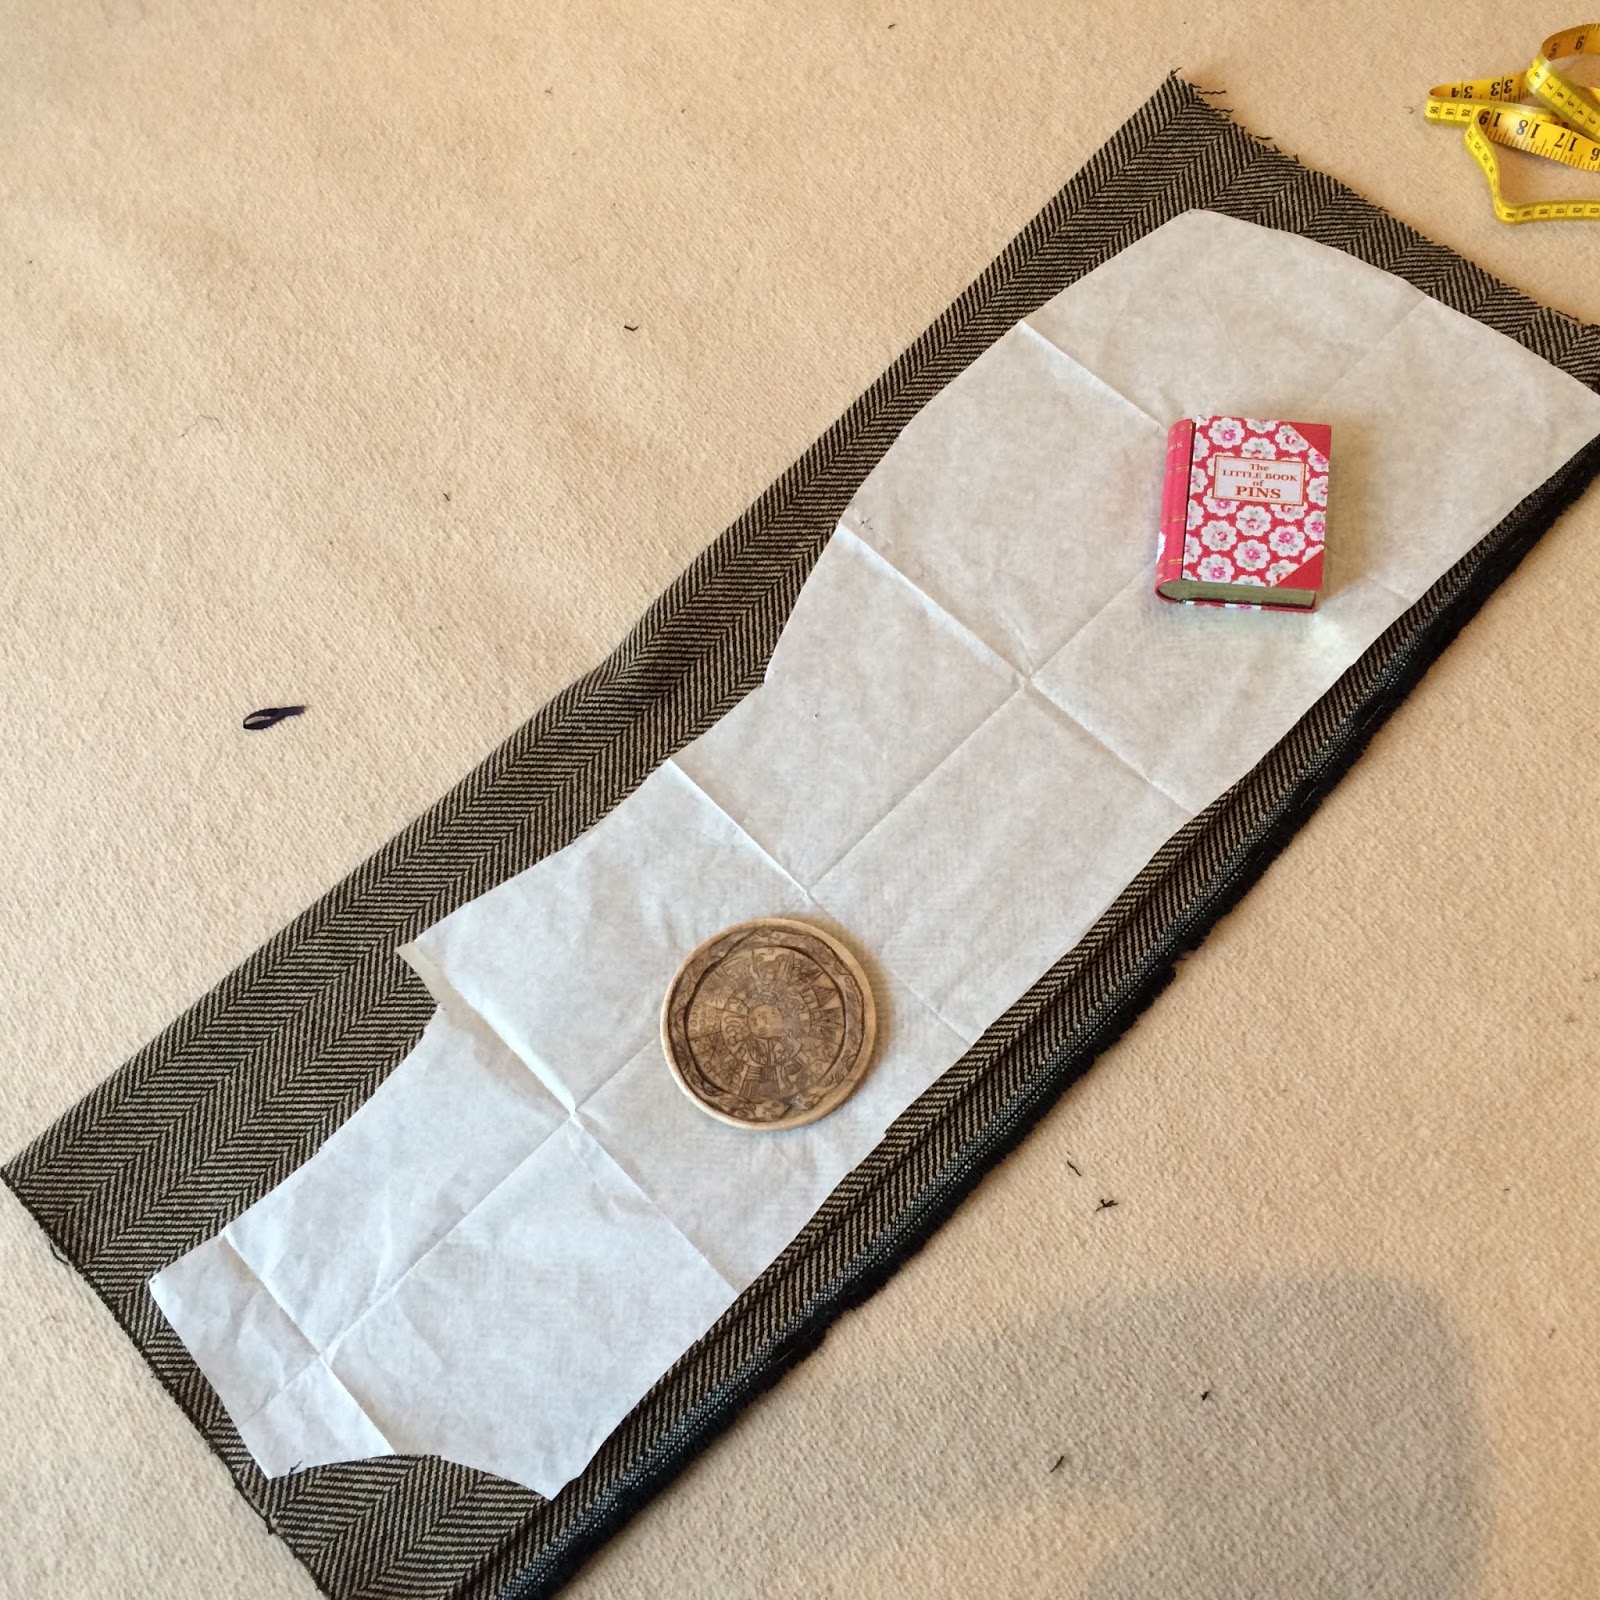
This is me following the instructions to mark the darts - you basically measure various points, fold them over in a line & iron creases in to mark where the darts are.  I used a few pins to help as the folds didn't stay brilliantly in the wool.

But the net effect was quite good -I actually like the fact the bust darts run straight into the body ones- its an interesting design feature and creates a nice fit on.
 So these are my front & back pieces with the darts all sewn in.  Zipper up next....
The zipper went it perfectly first time. Next step was attaching the lining, I couldn t workout how to well photograh but a great technique sewing at the neck and arms, then putting the back shoulders inside the front to sew the lining all inside and outside together at once! Then simply a job of stitching the sides together...
and getting a first look at it!! I was so happy that I was tempted to not add the peplum. The back looked especially smart...

But hey, it's called the peplum dress so peplum it should have!! I carefully followed the instructions which include folding a big square of fabric 2x then measuring the inner and outer circle- the whole thing is made in one piece so effectively you cut the peplum out whe and are left with a big scrap of the fabric inside the circle and of course the outsides. I followed the instructions to the letter and went to attach it. I spent ages deciding how high to sew it on. Too low looked just odd but I was nervous of ending up with the whole thing too short. I decided this looked good but didn t cut off the excess just in case I changed my mind later 😉


Then I hit my first issue. The peplum was too big!! I don't know what happened as I measures it carefully...
Never fear, I just chopped off the excess, aligned it with the centre back seam and added a seam to the peplum. Barely noticeable once finished. Then I just had some tidying up of edges to do... 
And there we have it! Finished!!!!
I love it and I ll definately make it again!! I. Recommend the book- maybe not for total beginners, but if you know your way around basic dress construction and want the perfect fit, you must give it a go
X

MessyessyMakes
X

Join me on Instagram @messyessymakes

Tuesday 15 March 2016

My self drafted big pocket skirt

I decided that I would try designing my own piece for once.... well not totally designing it myself, if I' m honest I saw a designer skirt that I wanted and thought I could work out a pattern to recreate it.

This is my not so glamorous sketch on a post it note of what I wanted to create- A-line, huge pockets with a  curved hem & contrast stitching.  I started out by making a sample to get a good basic shape & fit to work from - I used denim for my trial run for the basic shape... I was really happy with it.


 So then on to the main event.  I ve got a really heavy black twill fabric that I bought at Clothhouse.  It almost looks like velvet.  So I started with cutting out the pieces.  As per the denim one but longer, with a split down the front, curved hem in the middle & seam allowance added where it would join.

It became very quickly apparent that the fabric freys like crazy, so i overlocked every edge...
The next step, was the create the effect I wanted  on the front hem.  I used Liberty capel tana lawn (with interfacing) to create the curve, then turned inside out.  At this stage I started to have some concerns with the fabric as if I sewed too close to the edge, it started to come away.... Anyway, I persevered and got the curves right...   I then sewed the front bits together....

Then I set myself loose on some very visible top stitching - scary stuff, I ve never done this before.  On the front section I was pretty chuffed with how I managed it.  Not perfect, but acceptable ;)
Next job, sew the back together & put the zip in.  I was on a roll, went for it.  Oh dear.  lack of concentration hits and I got the zip all tangled & twisted.  Urrgghhh this is not a fun fabric to unpick. Anyway had to unpick one side & redo the zip without the twist.  One day I ll learn... more haste less speed...


Next up the exciting bit- making my super big pockets!!!  I just started by cutting out paper until I got one which I thought was about the right shape & size I was looking for.  Then I cut them out in both the Liberty lining and top fabric.  Here we go- another hiccup.... I intended sewing together on 3 sides, wrong sides together to then turn inside out - with the 4th seam going into the side seam.  But I sewed the wrong 3 together.  Doh  again.  More unpicking.  Anyway.  I then spent forever getting the curves right on the edges of the pockets so they were neat and vaguely equal...


When I was happy with them I pinned them to the skirt front.
I sewed the side seams together to just above the pockets so it would stay on & then tried it on to check the positioning of the pockets actually looked good.  I was pretty happy with them. So gulp, went for it sewing them on.  I have to admit I tried top stitching it in the pale grey but I just couldn't make the curves look neat- sewing so close to the edge of the pocket with very thick fabric, just wasn't working for me (excuses, excuses... I m just not very controlled with my stitching).  The fabric is not forgiving so I didn't want multiple unpicks so I just settled with doing it in black so you can't really see it.

Then I was pretty much done. I just had to sew the rest of the side seams together.  That was tough as around the pockets, that was a lot of heavy fabric.  My top stitching down the sides is not perfect as I found it impossible not to bump off straight as I hit the pockets (even with a Jeans-a-ma-jig).  So there we are.  This took a long time to finish.  But actually I was (note was....) very happy with it... exactly what I hoped for and I was loving having those huge pockets :)


I wish the story ended there.  But it doesn't. Disaster struck the very next day.  I proudly wore the skirt the next morning to work.  I was in a workshop with loads of other people. I bent over to pick up  something out of my bag and that sound you never want to hear of the zip just totally giving up on me.  This skirt has a very long zip in (I used the only one I had it which was bit longer than really necessary) and from the very top to the very bottom it totally split.  I managed to just save the skirt from ending up around my ankles and back shuffled out of the room trying not to flash my rear that was handing out to the rest of my colleagues.  I spent the rest of the day walking around with safety pins down my back & with my coat tied around my waist keeping up the skirt and protecting my modesty.  I was soooo gutted.  But I thought... oh well, if its only the zip, its a pain but I ll put in a new one, a better proper jeans type zip as this fabric is pretty thick.


 On further analysis though I realised that this was not my only problem... GGGRRRRR.  This fabric is not my friend.  I now realise that in more than one place the fabric is coming away at the seams- the fabric is literally just falling apart.  Not sure if anyone can share any words of wisdom on how to sew really heavy twill and avoid this.  But its in too many spots to recover & now I don't trust it.


Sooo gutted as I love the look & feel of the fabric and the fit of the skirt.  But its one thats clearly destined to not be worn.  Well at least the style worked out, I think I would just make it in a lighter more sturdy fabric next time.  Maybe a light denim?!  Need a break though before going for round 2

Messyessymakes
x

Wednesday 2 March 2016

My new favourite dress - Liberty fabric with exposed sparkly gold zipper

Finally I get round to sharing one of my favourite makes!  I absolutely adore the fabric- its a heavyweight Liberty cotton twill, bought on Goldhawk Rd.  


Here is a close up of the texture, its got the weight & feel of a denim.
I found the perfect zip and binding to combine with it at McCulloch and Wallis the other day too - a sparkly gold exposed zip- it goes soooo well and some  burgundy wool bias.  Here is my haul from M&W the other day....  (for those not London based, its a fab haberdashery, huge, with every button , zip, ribbon & trimming you could ever wish for just off Berwick St)- here are the things I bought there!

The pattern is a tried & trusted favourite. I really like it- its from Simplicity's 'amazing fit' range and I do find you get a perfect fit from it!  As well as having different pattern options by dress size, the front pieces vary by cup size and the back sizes also have slim, medium and curvy options.  Also the shape of the pattern allows you to really tailor it on the body- assuming your fabric is happy with pinning, stitching, pinning, stitching until you get it spot on!  

  Here is my first make with this fabric- its my favourite summer dress in an adorable cherry blossom print from Croftmill.  This time I wanted to create a winter version in a thicker fabric with sleeves.

Anyway- on with the make!   First step - cutting out...  as I mentioned already, there are lots of pattern options so you have the get this bit right.


I kinda ignored the instructions and put it together in my own order.  I started with the back zip- Its the beautiful sparkly one and I wanted it exposed.  I m really happy how that looks.


Next up, I sewed all the pieces together.  I used my overlocker as the fabric freys a lot on the edges. (lazy me put white cotton in the needle threads and left black in the others which works fine- well its not just lazy, I don't have 4 spools of anything other than black!!).  

For anyone trying the pattern, the only bit I find tricky is deciding where to stitch the front bodice pieces together.  The best way I found to do that is to line up the body curve bit as below first, pin that, then sew the round the curved  bust  section later from that point - I don't pin it, I personally find it easier to sew slowly & just curve it to fit as I go- but I guess most people would pin it.


So once  i d sewn the sides all together, here comes the big job - the fitting.  I took a long time over this, trying on inside out, pinning, sewing, retrying, repining until I got it just right.  I fitted the front and back seams first, then adjusted the side seams afterwards.


After the fitting I added the neck facing...


Last time I made the dress I didn't do the sleeves, but it turns out I LOVE the shape of the sleeves in the pattern- they've got 3 darts at the top & it gives a really structured look, I think it worked great with the weight of this fabric.  I cut the sleeves a lot longer than the pattern, given its the middle of winter.  Then I finished the sleeves with the lovely burgundy bias I showed above...


And for the finishing touch, I over-sewed  all the seams on the front & I m really happy how that has turned out...

So how does it look?

I m really happy about the fit on this one & how flat all the seams are down the front and back...


As you can see, I made it for Christmas (sorry its taken me several months to share ;(.   And I loved it so much I quickly made another ;)....  this time with a double sided wool where I could really emphasise the shape & cut.


Messy Essy Makes. x
Join my on Instagram @Messyessymakes