For Christmas I got Chinelo's book - Freehand fashion, which is basically marking your measurements onto fabric to make a 'bespoke' item, without any pattern!! I totally loved the peplum dress so that was my first project.
First up, I got my husband to take the many measurements needed (which was in all rather amusing).
I picked my fabric - and for once took a sensible decision to start with a cheap lining fabric. Its all rather scary really as you mark all these points onto the fabric and then cut!! What if your measurements were wrong?! What if I've marked it on the fabric wrongly? Should you actually cut to the markings or should you make it bigger just in case? I decided, in for a penny in for a pound- so I marked it up exactly per the measurements and cut it exactly there- crossing my fingers and toes...
Here are some pics of the markings on the fabric (note to self could do with a more accurate chalk marker than the blunt thing I currently use)
Then I got the confidence to cut!
I quickly tacked the lining together to check if it was anywhere close to fitting- hey presto!! It fits!! Its not a perfect fit, but really not bad & it needs to go in, not out... phew!!!! The only issue I had with the lining is that the way you fold it, means both left & right back pieces are folded in the same direction, meaning I sewed one with the darts in the wrong side. Good learning for next time- the process always puts one side on the wrong side so you need to invert the folds with the iron to get them right.


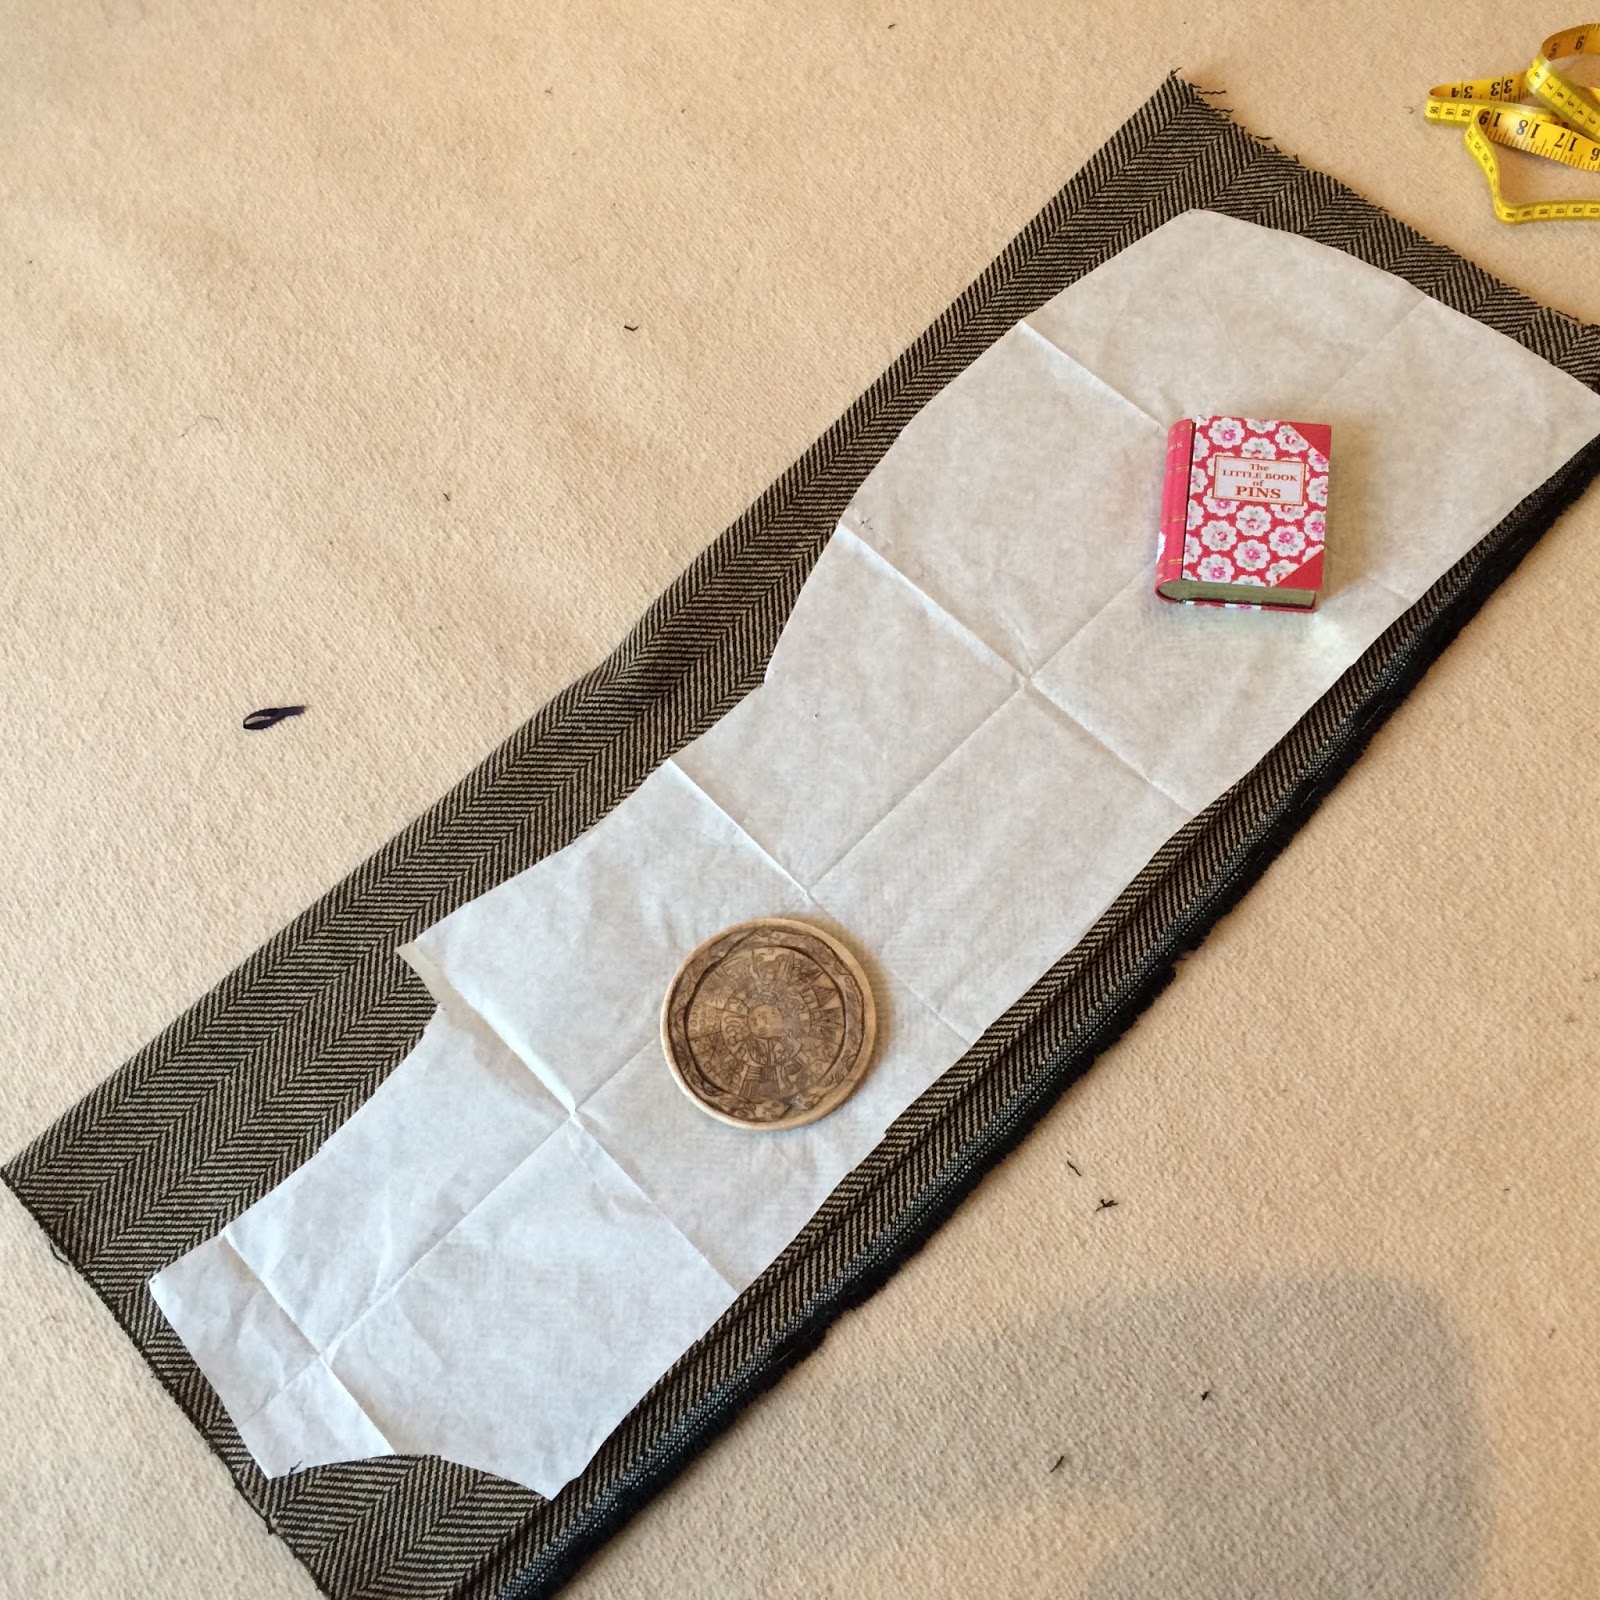
So then I had a go with the wool fabric I bought for the outside. Given the peplum bit needs a decent amount of fabric (I couldn't work out how much from the book so i bought 3m just in case) so i got a cheapish wool from eBay- tan & black herringbone pattern. I cheated here- rather than having to mark all the measurements out again (and seeing markings on herringbone wool is a bit more tricky than on a navy lining fabric... ) I made a paper pattern from the lining so I cut out the main fabric identical. I m sure Chinelo would be appalled at my applying paper patterns to the freehand movement, but really what is the point in measuring it all out a second time when you can just draw round some paper and get it perfect!!
Working with the wool is much more tricky as its quite thick, the creases are quite difficult to see in it and I can't iron it too hot or it will burn. On a positive, the herringbone has vertical lines in it which help for putting zips in straight!!!
This is me following the instructions to mark the darts - you basically measure various points, fold them over in a line & iron creases in to mark where the darts are. I used a few pins to help as the folds didn't stay brilliantly in the wool.
But the net effect was quite good -I actually like the fact the bust darts run straight into the body ones- its an interesting design feature and creates a nice fit on.
So these are my front & back pieces with the darts all sewn in. Zipper up next....
The zipper went it perfectly first time. Next step was attaching the lining, I couldn t workout how to well photograh but a great technique sewing at the neck and arms, then putting the back shoulders inside the front to sew the lining all inside and outside together at once! Then simply a job of stitching the sides together...
and getting a first look at it!! I was so happy that I was tempted to not add the peplum. The back looked especially smart...
But hey, it's called the peplum dress so peplum it should have!! I carefully followed the instructions which include folding a big square of fabric 2x then measuring the inner and outer circle- the whole thing is made in one piece so effectively you cut the peplum out whe and are left with a big scrap of the fabric inside the circle and of course the outsides. I followed the instructions to the letter and went to attach it. I spent ages deciding how high to sew it on. Too low looked just odd but I was nervous of ending up with the whole thing too short. I decided this looked good but didn t cut off the excess just in case I changed my mind later 😉
Then I hit my first issue. The peplum was too big!! I don't know what happened as I measures it carefully...
Never fear, I just chopped off the excess, aligned it with the centre back seam and added a seam to the peplum. Barely noticeable once finished. Then I just had some tidying up of edges to do...
And there we have it! Finished!!!!
I love it and I ll definately make it again!! I. Recommend the book- maybe not for total beginners, but if you know your way around basic dress construction and want the perfect fit, you must give it a go
X
MessyessyMakes
X
Join me on Instagram @messyessymakes