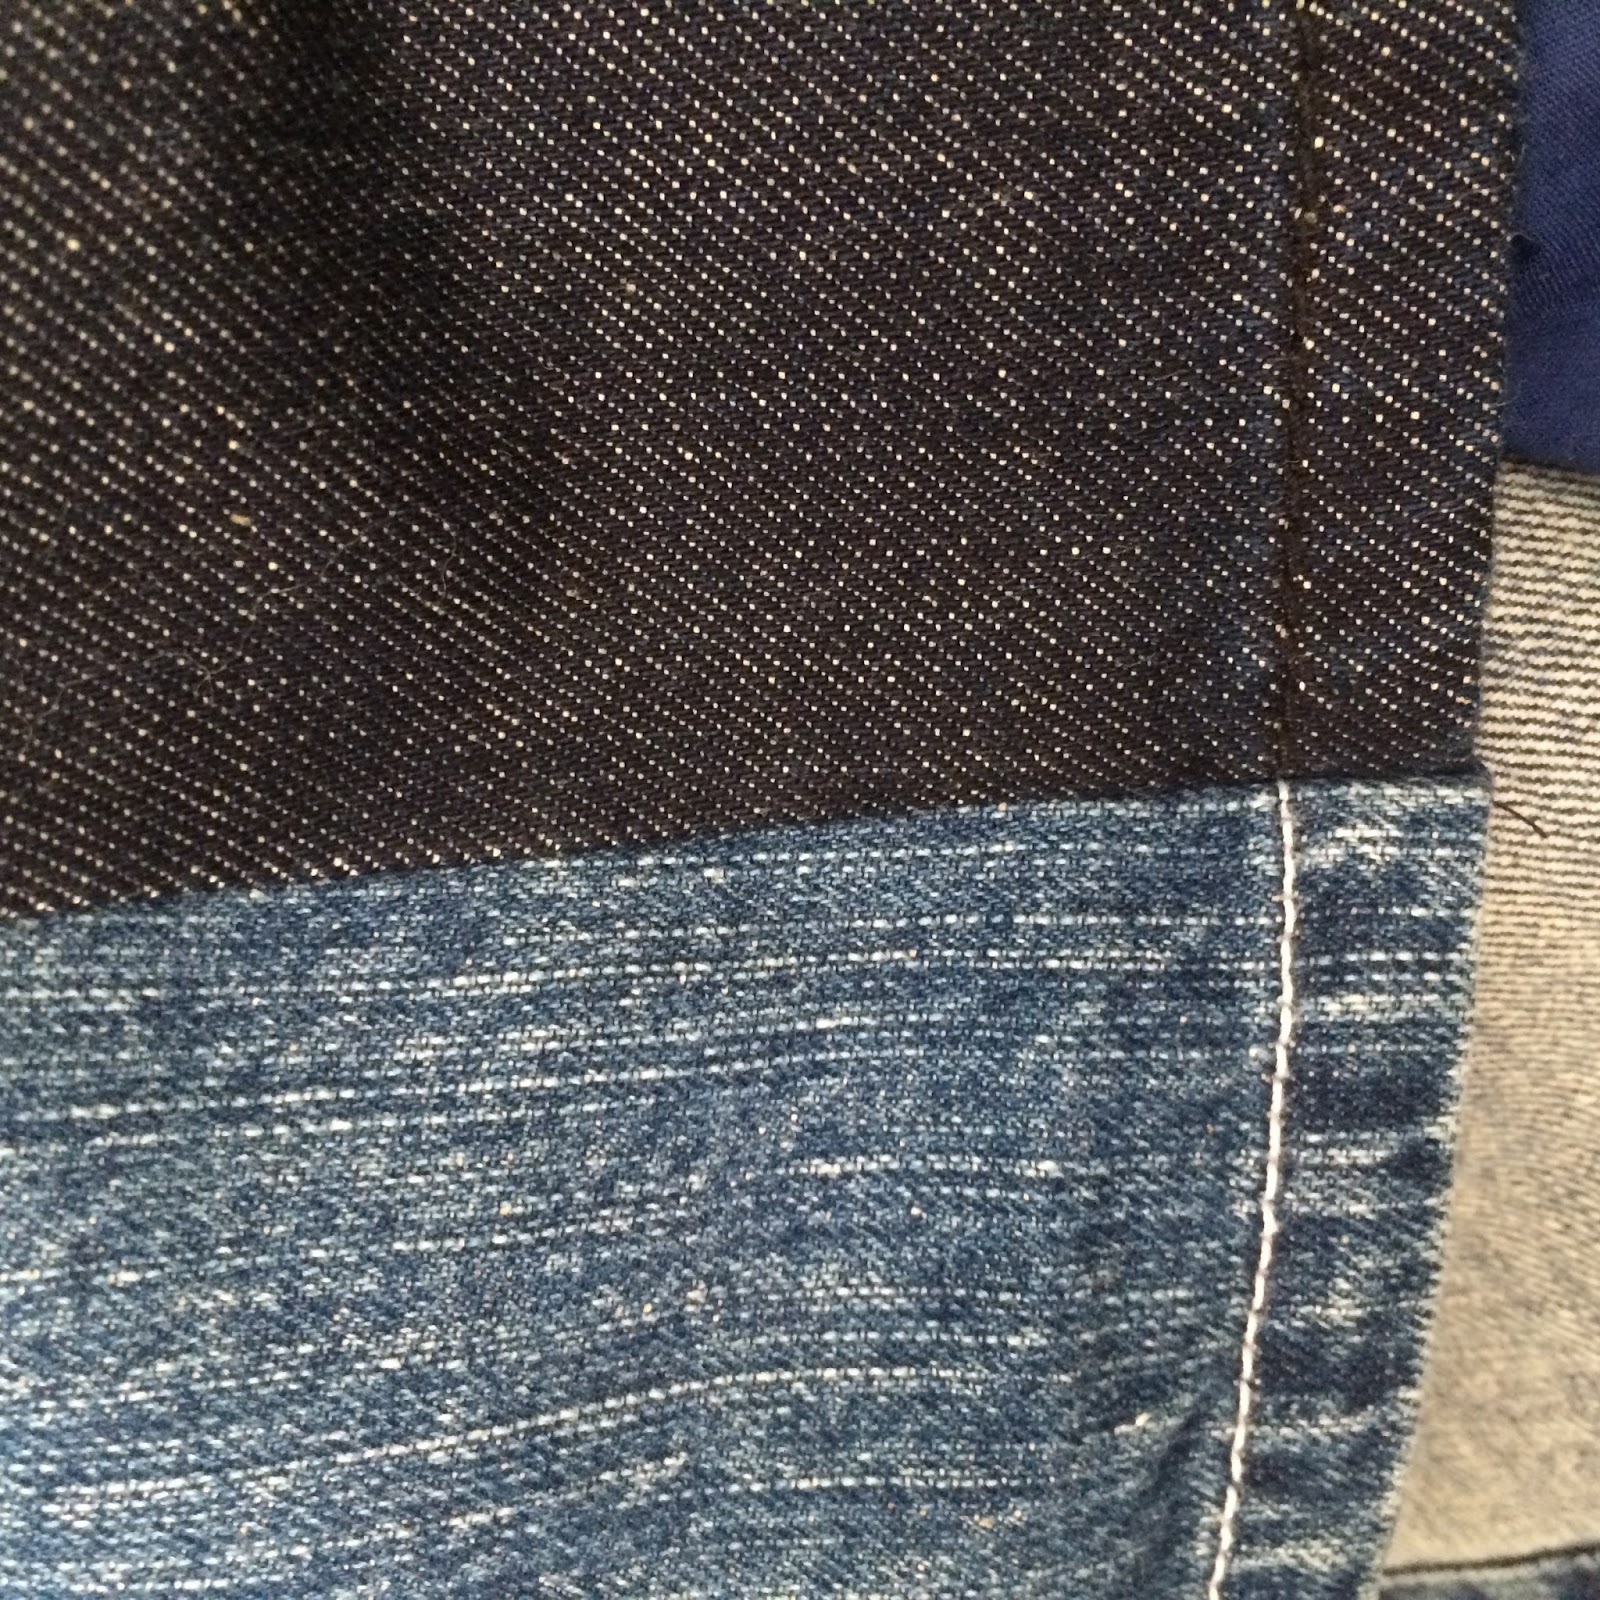
I can't contain my excitement over this one!! This is the most fun I've had in a very long time :)
So here is the story.... I decided ages ago to take part in the SimplicitySewingChallenge with the pattern 1458 - Its one of the Amazing fit range which I've had a lot of success with so I was keen to give this one a go. Anyway the pattern arrived, I put it on the shelf and only a few weeks ago did I realise the deadline was end of August so I needed to get motoring. EEK.... I was still undecided on what fabric to go for and then this happened....

I was loving watching all the #therefashioners2016 makes on Instagram - its hosted by Portia over at http://www.makery.uk with lots of top notch sewing bloggers making the most amazing things refashioning Jeans through the month of August as inspiration, with a competition for regular folks to have a go too. Well I was amazed and inspired. I have a total weakness for denim - I just love the character it has- the grain, how it ages, its versatility and of course I adore wearing it. Having a toddler, its one of those can't live without fabrics -and delicate silks & stuff are game over for me these days ;) So I pulled a few pairs out of my own cupboard that no longer fit, I asked around and had several donations from friends-then finding that what i had were all quite dark in colour - I went all out & headed to my local Farah charity shop to see what they could find. They very kindly collected some lighter shade jeans for me (ones that weren't in great shape for reselling, I said rips, stains were all fine as I could work around them) so I had a carrier bag full from there too! So £10 later I had 10 pairs of jeans and lots of ideas.
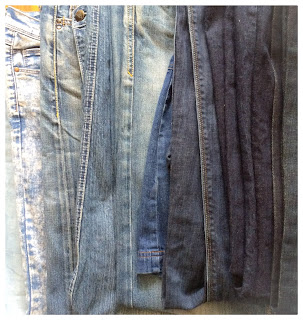
It was only when I got thinking about what to make and realising that I needed a pattern working with small pieces as Jeans, with all those pockets and seams don't give you a huge surface area of fabric... and then I remembered my SimplicitySewingChallenge pattern - bingo!! #therefashioners2016 meets #simplicitysewing challenge ...... here we go!! I should mention I have 2 different projects in mind for the refashioners, hence the amount of denim!!
First up- deconstruction. Who knew unpicking could be so fun!! If jeans have a chain stitch, you can unpick, pull the thread and it just magically unpicks itself all the way up the leg! It only works in one direction, so try both until you find a thread that works. I unpicked some pockets too as I had plans for some on my other project.


Then the hard work started. I had to find big enough pieces of fabric to fit the pattern pieces, that actually worked as a design, working around pockets, seams and the shading you get... The leg was not quite long enough (or wide enough ) for the pattern pieces but I reckoned I could live with it a bit shorter. At this point I did something totally out of character and made a toile out of a fabric I didn't like- please note this is the first time in my life I ever did this. I knew it was touch & go whether I could get the pieces out of my jeans and if I could trim the pattern pieces down a bit (both width and length at the bottom) that would really help. So I quickly tacked together a toile, using the medium fit, B cup pattern pieces. I then took it in in all the right places to work out how small I could cut the pieces, with minimal seam allowance (just enough for my overlocker). That was then my template.


I literally had to unpick the pockets and use the fabric from the very bottom of the hem right up to the waist band!! I decided to go for contrasting symmetrical panels...cutting them out of the same piece of jean so the shading was matching. I would cut out one piece from one leg, then cut around the first piece on the matching spot on the other leg.
This is how the back started to come together. At this point I started to get excited- this actually could work!!
Finding pieces that were big enough for the 4 big back pieces was enough of a challenge (the top of the dark section is behind the pockets for example... )but the front was bigger challenge. The front section is much wider than a jean leg and even if I put the outside leg seam down the middle, it wasn't quite big enough. And anyway I had so many different bits of denim I thought I could get creative. I've been in awe of the work that @misterdomestic on Instagram - especially how he uses weaves of different colours to create depth and ombre shading... (check him out, so much talent!!) so I took some inspiration from that and decided to do a patchwork effect. I had in mind making cubes of denim, 3 different shades for depth of field, with the cubes dark down the bottom up to light at the top- if that makes any sense?
First I had to make a template. I had no clue. But my more technical minded husband told me I needed a diamond with 2 x 120degree angle and 2 x 60 degree. and handed me one of those angle things you used at school. I've not measured an angle on anything for at least fifteen years.... but he was bang on, I measured it out like that, with all the sides even in size and bingo, it created the cube I wanted. Then I had to cut ALOT of small shapes out. I just drew around my little red template and then cut a seam allowance on top of it. I cut loads, in as many different shades of denim as I had- many pairs had so many different shades down the legs that I could cut different shades from the same pair and I also used some jeans inside out so I got even more shades that way too.
Here is how my diamond collection was shaping up... mostly cut whilst watching our team GB gymnasts in action (Max Whitlock, go go go.......)
I started stitching my diamonds together and IT ACTUALLY WORKED. It was slow going as I needed to be accurate with my stitching and not distort any of the pieces .. but it actually started to look like cubes. I ve never tried anything like this before at all so it feels like a total miracle that this actually works!!

I m not a big user of pins, in fact I hate them and usually just hold pieces together unless its trixy fabric (I know, I know thats not how you are supposed to sew). But with this I pinned each cube perfectly to the next, lining up my pen markings on each side with my pins. After sewing each line I trimmed the seam allowance, then did the next one. Cube by cube, sticking them together. My bottom row were the 3 darkest shades I had. I tried to always have the darkest shade on the bottom left and the lightest on the top so you got a bit of depth to the cube. As I went up, my plan was for my cubes to stick to that rule but overall to get lighter, 2 rows of matching ones at a time. In the picture above you see the first 2 cube colours.
I should mention at this point that my sewing room (ahem our guest bedroom) looked like a bomb site for the entire duration of this make ... messy by name, messy by nature and all that ;).
And here are my cubes progressing. This took days of sewing together after work/little one in bed... in-between /whilst watching the olympics.
At this point I realised I needed to work out exactly how big I needed my patchwork to be. So I sewed the rest of the dress together, put the toile front piece in and once again fitted, taking in all the sides. The benefit of this pattern is you can adjust all the seams giving a great fit. Then I had a template for my final cube design.
I chose to use the raw hem of the denim to hem the dress- this was more necessity as I needed the full length, but I was pretty happy with how it looked (I wasn't convinced by the idea and had the back up plan of having to put a continuous hem colour block round the bottom to give extra length and uniformity if it hadn't have worked out).
Next I decided to finish the back, putting in the zip. Infact the only pieces in the entire dress that are not from the original denim are the zipper and some bias tape!! I bodged the zipper :((( it was late, I though I ll just quickly stick the zip in and well around the bottom of the zip I totally cut the fabric wrong and ended up with an ugly hole. Great thing about denim, you can do patches and stuff and get away with it. I found a bit of fabric with a shading on it from a pocket and made a square for the bottom of the zip.
One thing I wanted to share was that my Jeans-a-magic piece of plastic was just super useful on this project. You basically slot it around the foot when heading for a chunky ridge in the fabric (aka all the seams on denim) and it sews through no problem. They are silly expensive for a tiny bit of plastic but I think its a really useful bit of kit if you sew thick fabrics a lot.
So, back done. I can finally get the front section finished.
With my final cubes done, matching the shape of my toile, I backed them with blue cotton ( the front looks good but I don't want to look at the back again!!) then sewed it in. I had to be careful to get the placement right so the cubes were centred and had to keep them tight so there was no baggy-ness. Ooh it's shaping up:
Last job was finishing the neck and armholes. I rescued scraps of this scissor fabric from the pocket of my Denham jeans (best jeans ever by the way- the sole reason I never tried to make jeans) so that was turned into my neck facing. I under and over stitched as the denim was pulling it forward. Armholes were simple bias finish.
Whoop whoop she is done!!! I' m loving it, I have to say. This took more hours than any other clothing I ever made (bar my Francine jacket) but I m so happy I persevered.
So a final word on the Simplicity pattern. It's another good one that I ll make again. I like it alot more made than I did on the picture- I always felt it didn't look fitted enough on the packet. But with the multiple seams you can fit to your hearts content, it would be quick with a normal fabric and you could do interesting colour blocking with the style. My only complaint is I find the sizing really generous (or I measured wrong) Based on my measurements I cut a 14, but by the time I was done fitting, I was closer to a 10.
And a final, final word on refashioning denim. I m hooked. I loved it. What can I make next?! Well I ve already started something for my 2 year old coming soon!! Next time I'd plan a bit more on getting the right colour/size/ texture of denim up front- if you have a dress pattern you need jeans with really long legs, or for wider pieces, you want big men's jeans. Obvious I know. But working around what I had was all part of the fun. Thanks Portia for so much inspiration and a lot of fun
Messyessy makes
X
Ps. I ll update with pictures of me wearing it later in the week. Right now I look like I ve not left my denim cave for days 😉