BLOGLOVIN'

Follow
Showing posts with label shirtdress. Show all posts

Sunday, 17 February 2019

Deer and Doe Myosotis Dress

Wow, what a long time since I wrote a blog post!  6 months with a new born and I ve spent every available second (not that many) sewing rather than blogging about it.  So lets go with a few posts of what I ve made in the past months!

Firstly the Myosotis by Deer and Doe. I had seen so many lovely versions of this that despite it not being my usual style, I bought it!  I had some  reservations whether it would suit me when made up as I don’t really go for loose fit, full of ruffle items! But I m bigger than normal post baby and breastfeeding so I thought it a good choice for those reasons!

I bought fabric with the intent to use for this project, a navy and white stripe with floral embroidery. The fabric itself is quite lightweight but it gets bulky around the embroidery which maybe makes it a bad choice for such a ruffle heavy garment!

I cut out a size 14 and it needed no alteration other than taking the arm hole in slightly. The instructions are very clear and I found it an easy sew, though I m tired of gathering fabric!!

The biggest issue I had was the fullness/ I lined the skirt as it was a bit see through and 2 layers plus the embroidery made it quite heavy on the placket and seams so I'd avoid textured fabric for this pattern in future.


I actually just overlocked the hem rather than turning it under, as it became too think if I hemmed it !

Another thing to note is I find it goes over my head fine without needing opening buttons so next time I would skip button holes and just sew them down or even hack a version with a one piece front, no buttons. I think a version with pin ticks down the front would look great!


I chose to go sleeveless as it was for my holiday- I didn’t make pattern alterations for this, I simply took it in a bit more on the side seam below arm and finished with bias binding.


So, do I like it? Simply, yes- but I need it to be less full / loose than the pattern. Made up per pattern I feel huge in it. So I made a tie for the waist and with that small adjustment I like it a lot.

One final point - I don't like the way it asks you to finish the collar. I found it very difficult to ensure it was neat at the edges and with the over stitching.  I therefore prefer to follow the instructions from the Grainline archer instead.

I already made a second version, this time with sleeves- but this time I  replaced the skirt with something less full- a simple A-line with side slits and some front pleats for a bit of body.


I find it a super comfortable but stylish dress, with the pockets a bonus! How do you like it?


Saturday, 29 October 2016

My First Vintage Pattern Make

I love vintage but had never sewn a truly vintage pattern before!  I bought this one on eBay, actually rather cheaply and was keen to try it!

My first lovely surprise was when I realised that it was all perfectly cut out!!  Result!!!

Then I realised that a size 12 wasn't really a size 12 by my standards- so some upsizing was required. I decided I needed to add 1.5cm to all the seams on the width, but keeping the length the same.   I had this beautiful Liberty snowdrop print that my mum bought me that I wanted to use -it has a bit of a vintage vibe and I think it will be a perfect winter shirt dress!  As usual with Tana Lawn though I plan to line the skirt as it is a bit lightweight.   This sew was a long one by my standards- weeks long!!!!  Mainly because I made quite some errors on the way that I needed to correct (grrrrrr).

First up was cutting out.  I thought I had TONNES of fabric, but wow that skirt needs a lot of fabric- and wanting the pattern to all be at least facing the right way etc - meant I needed a lot.  The only thing which really puzzled me was the skirt that is a circle type - in 2 parts, joining centre front & back. So if the pattern is the right way up at the front, its on its side on the back - but what else can I do?!


I was getting on just fine, until I did the waistband.  Well it was a good 8cm from meeting in the middle!! Even though I d already made it 4cm bigger than the pattern.... I had enough fabric for a second one... JUST.  Luckily the bodice fitted fine- it has gathered fabric pretty much on all sides so I could just gather it slightly less than the pattern intended.   Oh and I made it doubly complicated by putting in some piping.  Sewing piping along with gathered fabric and a lining is not fun (its only the second time I did piping so clearly I need some practice.  I didn't get it perfectly even, I re-did some sections but decided this was good enough.


Then the fun started.  I couldn't for the life of me work out the instructions for part of the front centre bands (where the buttons go).  Having made 2 previous shirt dresses, I just relied on instinct.  And I don't know what happened but the top side ended up about 4cm smaller than the other side.  They started off identical and   I have NO IDEA what I did wrong!!   I didn't have enough fabric to re-do it so I had to unpick, cut it off straight and patch it with another piece.   I had to pass on the v bottom, and just sewed it straight.  I was worried I had re-worked the fabric too much so I sewed through a square (like on denim) to re-enforce it. The join & the square bottom is on the pic below:


And then I sewed a button hole in the wrong place.  ggrrrrrr.   Unpicking a button hole in this fabric was not fun - I was really worried that I would put a hole through it, but I did manage it.  Lucky the fabric is so patterned as it doesn't show (I wouldn't have gotten away with it on a plain fabric.)

I then had fun & games with the hem.  How on earth do you end up with a straight hem with so much fabric ?  I never have an issue getting a hem straight when there isn't much fabric but  with such full fabric I had an issue.  I got it looking even on the hanger, but then it was totally off when I put it on....   I got it ok in the end & finished with bias tape, but there must be a method for this - tips please?   Last time I did a full skirt I made no changes to the length so  I just took it up equally all the way round.  


I'm making this sound like a disaster.... it isn't .  I actually adore it!!  But it took a lot of effort and I learnt some new stuff too.  I really like some of the details on this dress- the front buttons, the waistband that sits just above the hips, the full skirt and all the gathered sections on the bodice- its super comfortable but really quite elegant- well by my standards!!  Here are a few pics


Tuesday, 27 September 2016

Tilly & the Buttons Rosa Shirt dress in Liberty Needlecord

I was so excited when I saw the Rosa shirt dress by Tilly & the Buttons.  It had my name all over it - love the suggestion to use piping and contrasting neck band etc and I m a sucker for a princess seam!


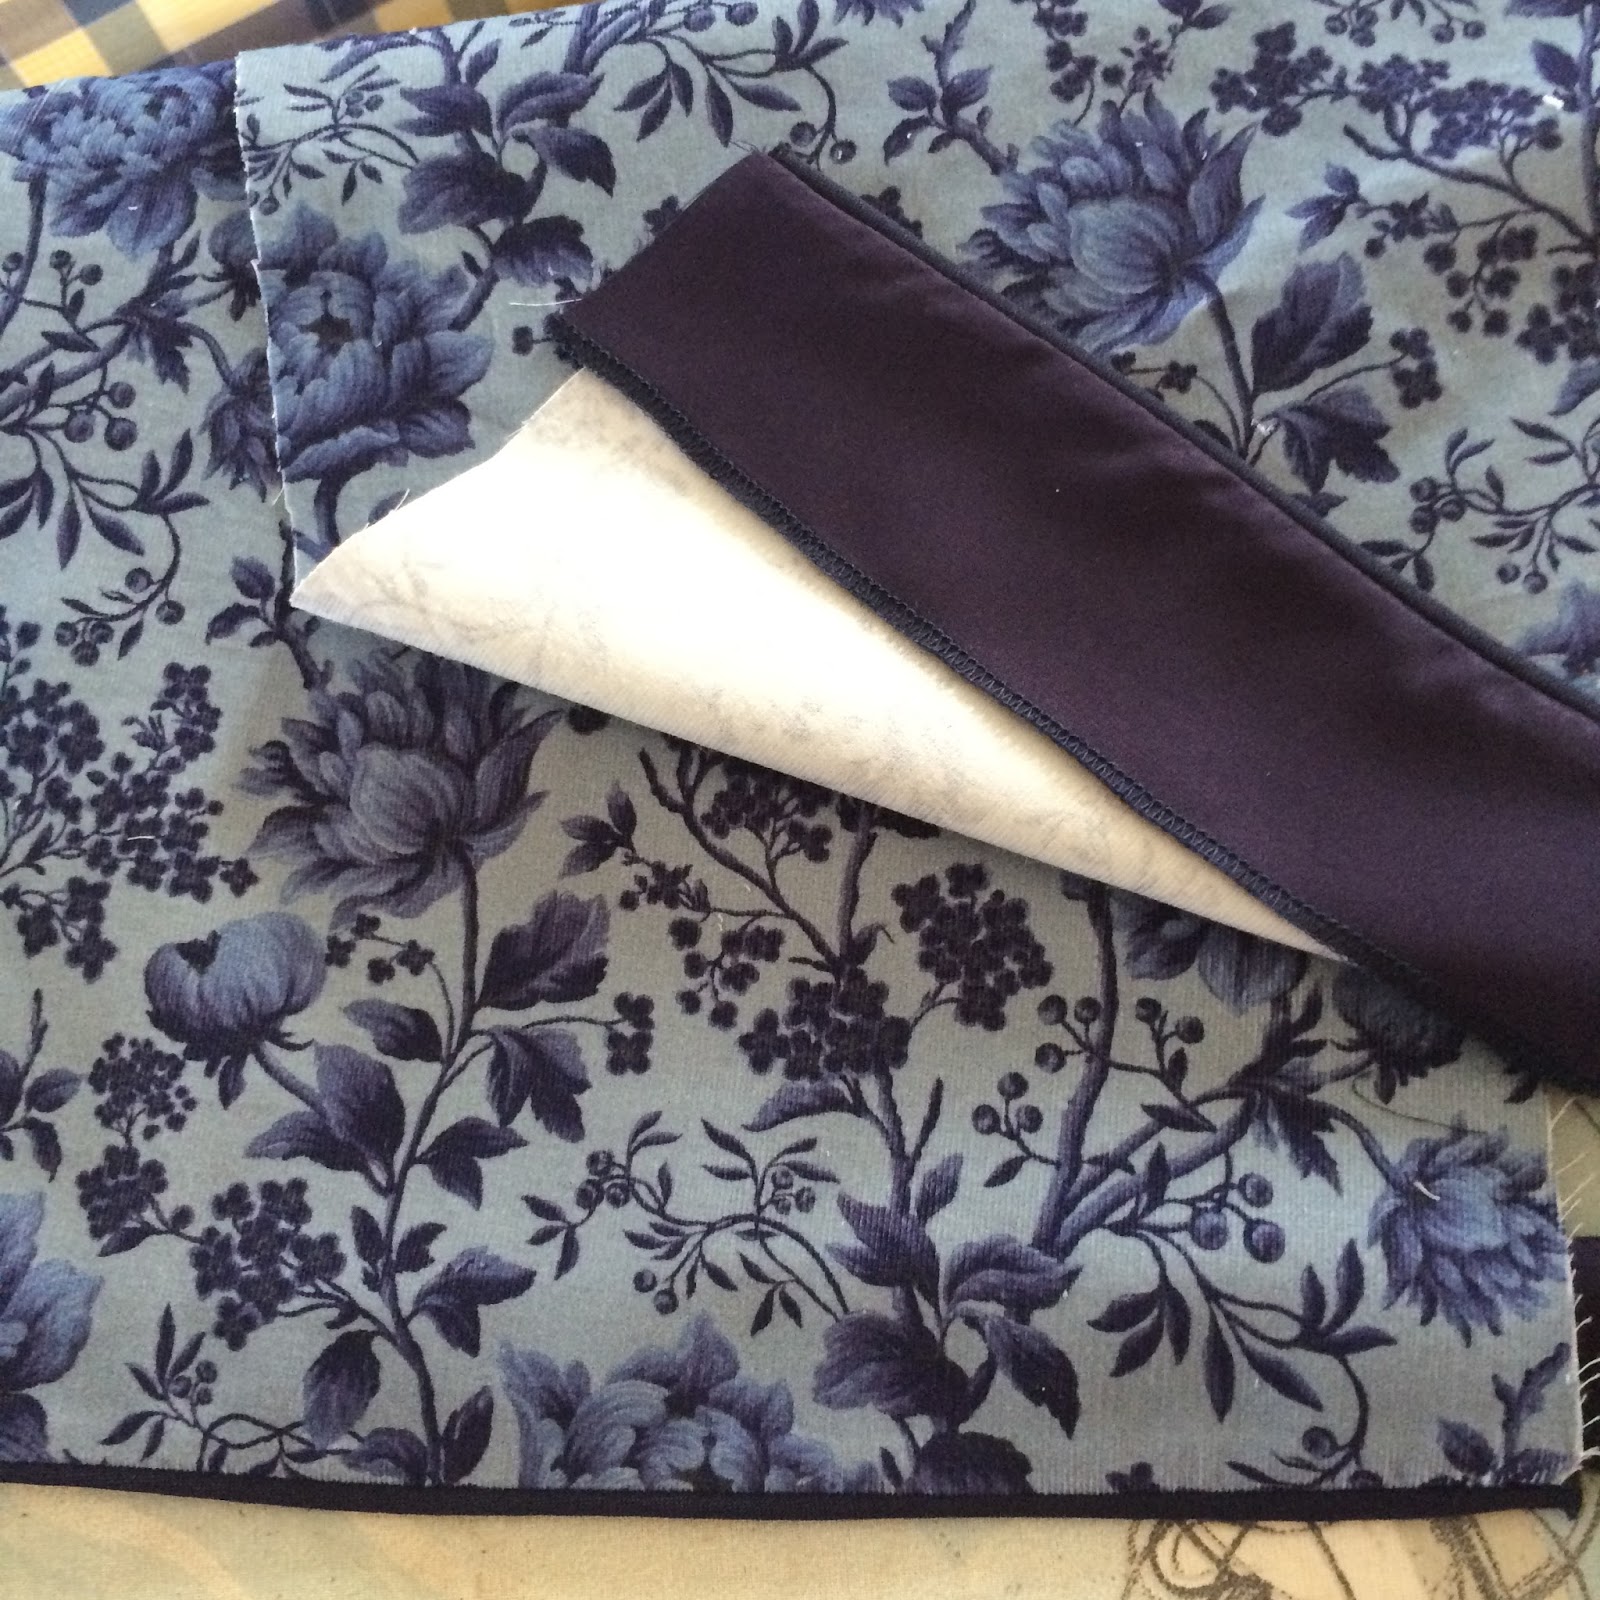
I had this Liberty needlecord in my stash for quite some time and had been waiting for the perfect project- and decided this was it.

The trickiest bit of the make was the cutting out.  My own fault- I thought I had 2 metres of the fabric but it turns out, I only had 1.5.  Doh.  but I m a stubborn type so I was going to make it work.  I had one hell of a jigsaw going on to make it work.  Outside of the main dress body pieces I was rather flexible on using the grain and just made things fit.


First sewing step is to stitch the front & back pieces together.  It suggests 3 steps - sew& trim, over lock, then top stitch.  I followed this but not exactly - as I wanted to do some fitting fine tuning before overlocking & topstitching.  So I sewed the pieces that make up front & back together down the princes seams, then tacked the other seams together on the largest setting on my machine so I could check the fit.    I have to admit that when I sew princess seams I don't pin- I just pin at the notches, sew with the most curved fabric on top and ease it into position between the pins as I go.  I then put it on my dress form and played around with it.


 I was seriously happy about the fit at the back without any alterations, but the front looked a bit loose, so on the reverse I pinned the seams further in and on the front from the bust to the hip.  I noted the side seams also looked like they needed some alterations, but I ll fine tune that later.


I made my adjustments to the fit, then I overlocked & topstitched.  I would highly recommend not diving into finalising those seams until you refine the fit.  The reason I love princess seams so much is you can get such a great fit with them, so I would definitely allow yourself the opportunity to do that. For topstitching I used Gutermann top stitch thread in navy.  I sewed closer in than the 10mm suggested, probably more like 6mm.

My adjustments to fit...
 Overlocking...

And topstitching.

I was quite happy how my top stitching was looking! I only went for 1 row as I felt the fabric was quite busy enough!

I decided to add some piping too- I decided down the front, at the cuffs and across the back 'v' shape of the yoke.  I've never done piping before so I read a few tutorials on line and had a go.  I discovered my 'stitch in the ditch' foot as I call it was perfect.

For the button band down the front, I did this differently to the pattern,. I put the facing pieces on the front, not the back of the main fabric so I could do the piping and have the contrast button band showing.  For the piping, I sewed piping on the top of one piece first, using this foot:
 I then pinned the other piece on top, turned it over so the previous stitch line was visible and sewed using the foot, on top/just inside the previous stitch line so I knew I was close to the piping.
 I then ironed it the right way and stitched in the ditch to keep the insides folded in the right way.

 The V was a challenge- I really didn't know how to do that- to be honest my only criticism of the pattern is that it doesn't given any tips at all on piping, which is shown on the cover and therefore I assumed that would be included.   I did the same on the V but cutting into the piping to make it go round the curve.  I know this looks a bit of a mess.
 Overall it is ok.  Its a bit puckered right below the V (really don't think my technique was right) and the  inside of that bit looks terrible.  Would love some tips on how to do this better.
Really happy with the neck and front binding though...  I used scrap denim from my refashioners project and love the contrast.  I had a small issue with the neck- the collar was smaller than my neckline- I clearly either cut the collar small or the neckline stretched, which I think is the likely reason. I added in 2 small darts to overcome it and actually I quite like them as they give a nice fit on the back (but look awful on the hanger)


I put binding on the cuffs and used a bit of scrap fabric to go on the inside, as per pictures below.

 And then I sewed the sleeve down to the hem seam, capturing in the cuff lining I had made.

The finished sleeve with piping on the edge.

 Last job, buttons - or in my case snaps.  I love these Prym jeans snaps and I hate sewing buttons so easy choice!! I used the Prym 15mm Antique Brass Anorak snaps with the Prym vario pliers which I highly recommend.  This is how I use them for perfect results.

First up you use this little piece of metal in my fingers  and give it a hammer in the right spot to cut out a hole for the snap to go through.

Put the snap piece in the pliers.  One side holds firmly in place so put that one on top.
 Push it through the hole you made in the fabric, and squeeze the pliers really tight.  And repeat!

 And there they are!!

I finished off the hem and I was all done, Rosa was ready.  Some pictures of the finished dress  below.  I'd highly recommend this pattern.  I wore my dress yesterday and its super comfy but feels very stylish too.  I love the fit-  there will be more of these for sure!  Top tips would be to ensure you plan in fitting of the princess seams and I'd also double check length in case you want it longer - I really wouldn't want it any shorter, I only did a hem of about 5mm, next time I may cut it fractionally longer to give myself a little more room for hemming.


Thanks for reading,  Any tips on getting my piping better are most welcome
Messy Essy Makes
x