BLOGLOVIN'

Follow

Sunday, 7 February 2016

My vintage top

Here is my first vintage make...  and I love it...now its completed !  

Its the Simplicity 1278 1950s pattern that has been reprinted.  I totally love the style- I went for view C with 3/4 length sleeves and I used my favourite Liberty Hebe tana lawn I got for Christmas.  


I love the finished result a lot -see photos at the end ;) and I ll definitely make another- it as one of those makes that you don't really know whether it is going to fit until you are close to the end, which was a bit scary but it worked out just fine with a few fitting adjustments.  I never make toiles, I always just wing it with my chosen fabric- live on the edge ;)

I had a few areas of the pattern I had a challenge with, 3 specifically which I ll share in case you are making it up.  This may be me not reading the instructions properly or begin a bit of a novice! Don't let this put you off, its worth conquering as its a stunning pattern.

Firstly the neck- I didn't get the pleats right at all but couldn't really tell until I tried to put the neckband on - so ended up doing a lot of unpicking & re-stitching until I was happy with them  - basically next time I'd largely ignore the fold lines on the pattern and do it more by eye so they look even (the one that goes under & over).  I d also recommend tacking the the neck band on as thats the only way you can see if you are happy with them (unless you've got a bit more vision and skill than me!!).   I also was convinced the pattern for the neck band was the wrong size- then after a lot of frustration I realised I was sewing it on upside down - you need to sew the long end to the top not the short end- now that is obvious now I think about it but the pattern doesn't specify and I m so used to doing facings where you sew the short end that it didn't occur to we for a really long time that I had it upside down!!  Doh!!


Anyway, once I d got it right, I was pretty happy with it- here is the neck line  ....

The next challenge was the hem.  I had 2 issues here.  On the front you sew the front 2 pieces together first, then do the  interfacing then stitch them together to create the curve (see patter instructions below).  I really struggles to get the bit right in the middle (near pink pin)correct- sewing the bits you need & avoiding the bits you shouldn't sew. Next time, I think I would sew the interfacing to the front parts before I sew the front together to avoid this.  There may be other pit falls that I come across doing that but I m convinced it will make that meeting point easier to crack!!!!


Anyway, I persevered and was happy with the result:


The other issue I had with the hem was that the front is obviously done using the interfacing, but the back not and I didn't find the pattern was super clear on how to make that join particularly neat.  I found there wasn't enough fabric at the back to do a great job of a neat edge so I used bias binding on it.  Next time I would either  continue the interfacing all the way around or I would cut the back piece 2cm longer to have enough spare fabric to do a neat hem.


And my final challenge was on the sleeve- and I m convinced this is a pattern error.  There is a really nice detail where there are darts in the sleeves where your elbow bends which I ve never done before, but look cute.  But the ends of each side of the sleeve are equal in length, then you add the dart in one side, and then there is a big discrepancy between the length of the sleeve on each side of the fabric. I then was left with the question on how to even them up (do you cut off at the top or bottom?).  I found that taking it off at the top made more sense in terms of the dart being at my elbow- and it worked ok, but its a strange bit of the pattern.  The other sleeve issue to watch out for is that I ended up with one dart facing forward and one facing back as I m so used to cutting sleeves out identically- so watch out for that.  The pattern also doesn't specify whether the dart is supposed to be at the front or back - I worked out the back in the end. So be careful on cutting and doing the darts!!  These I think are all pretty  obvious pitfalls with hindsight!  Here is the pattern directions, as you can imagine, when you do the darts, that side is much shorter than the other side!

So they were my challenges.  There are some things that went well.  I was very happy with my invisible zipper -I got a perfect colour zip and I used my binding foot to bind the edges which looks very smart.   So here are some pictures of that bit!!


In fat to make it uber neat inside, I bound all the edges with the grey bias, which makes me smile every time I put it on :)  I think I m becoming a convert to neat insides!!!

And then I was done.  If you didn't get the idea before, I totally love this top.  Next time  I'll make it in half the time I m convinced now I understand how it goes together a bit more!   Hope you like it and hope these tips help if you are giving it a go !!


Messy Essy Makes
xx

Tuesday, 19 January 2016

Ode to Liberty

On New Years Eve I went to the Liberty in Fashion exhibition at the London Fashion & textile museum.  What can I say, I was in heaven, I loved it.  I wanted to share a few highlights and some of my next Liberty inspired projects.

So the exhibition - its quite small and mainly consists of dresses that have been made by Liberty/in Liberty fabric over the decades.  Here are a few of my highlights and my top 3 facts!!!


First up, I learnt that my favourite Hebe fabric is very, very old - here is a scarf in it from 1905!  Amazing that it still looks so good today.  I have this fabric as blinds/cushions in our bedroom plus I 'm sewing a top with it right now too.


Second fact- did you know that the Liberty store is built with wood from some battleships!  I love the store and found that fascinating!

And my last random fact - Tana Lawn - where does the name come from?  Well its named after Lake Tana, in Africa where Cotton is grown!

Some photos of my favourite dresses in the exhibition:

Look at this neckline...

I love the shaping on this dress, there are pleats & gathers all over the place

3 things I love about this one...  the fabric, the skirt line which has got curved pleat/tucks running down and the frills on the top.  I d love to make this, wouldn't know where to start without a pattern though!

I thought this patchwork skirt was quite effective.


Love this dress shape, especially the big collar.

Love, love the fabric and the neckline!  I d never have thought of doing a frill in a box shape like that

I d love to wear this one, all those lovely neat pin tucks & puffy sleeves.
The detailing on this one was quite magnificent ...
Love the fabric combo and all those tiny buttons going up to the bow at the top.  I could definitely have a go at making something like this.


And lastly some nice embroidery.... this was really very old.

So what am I going to make next in this Liberty theme?

First up is a Agnes top in this lovely Liberty fabric my mum gave me for Christmas- the collar on the pattern and the nice curved shape reminds me of some of the details in the exhibition....


Secondly, and boy do I love this one...  a Simplicity vintage pattern with the Hera tana lawn.  Half made.  Can't want to finish it and share it.


Wool pencil skirt

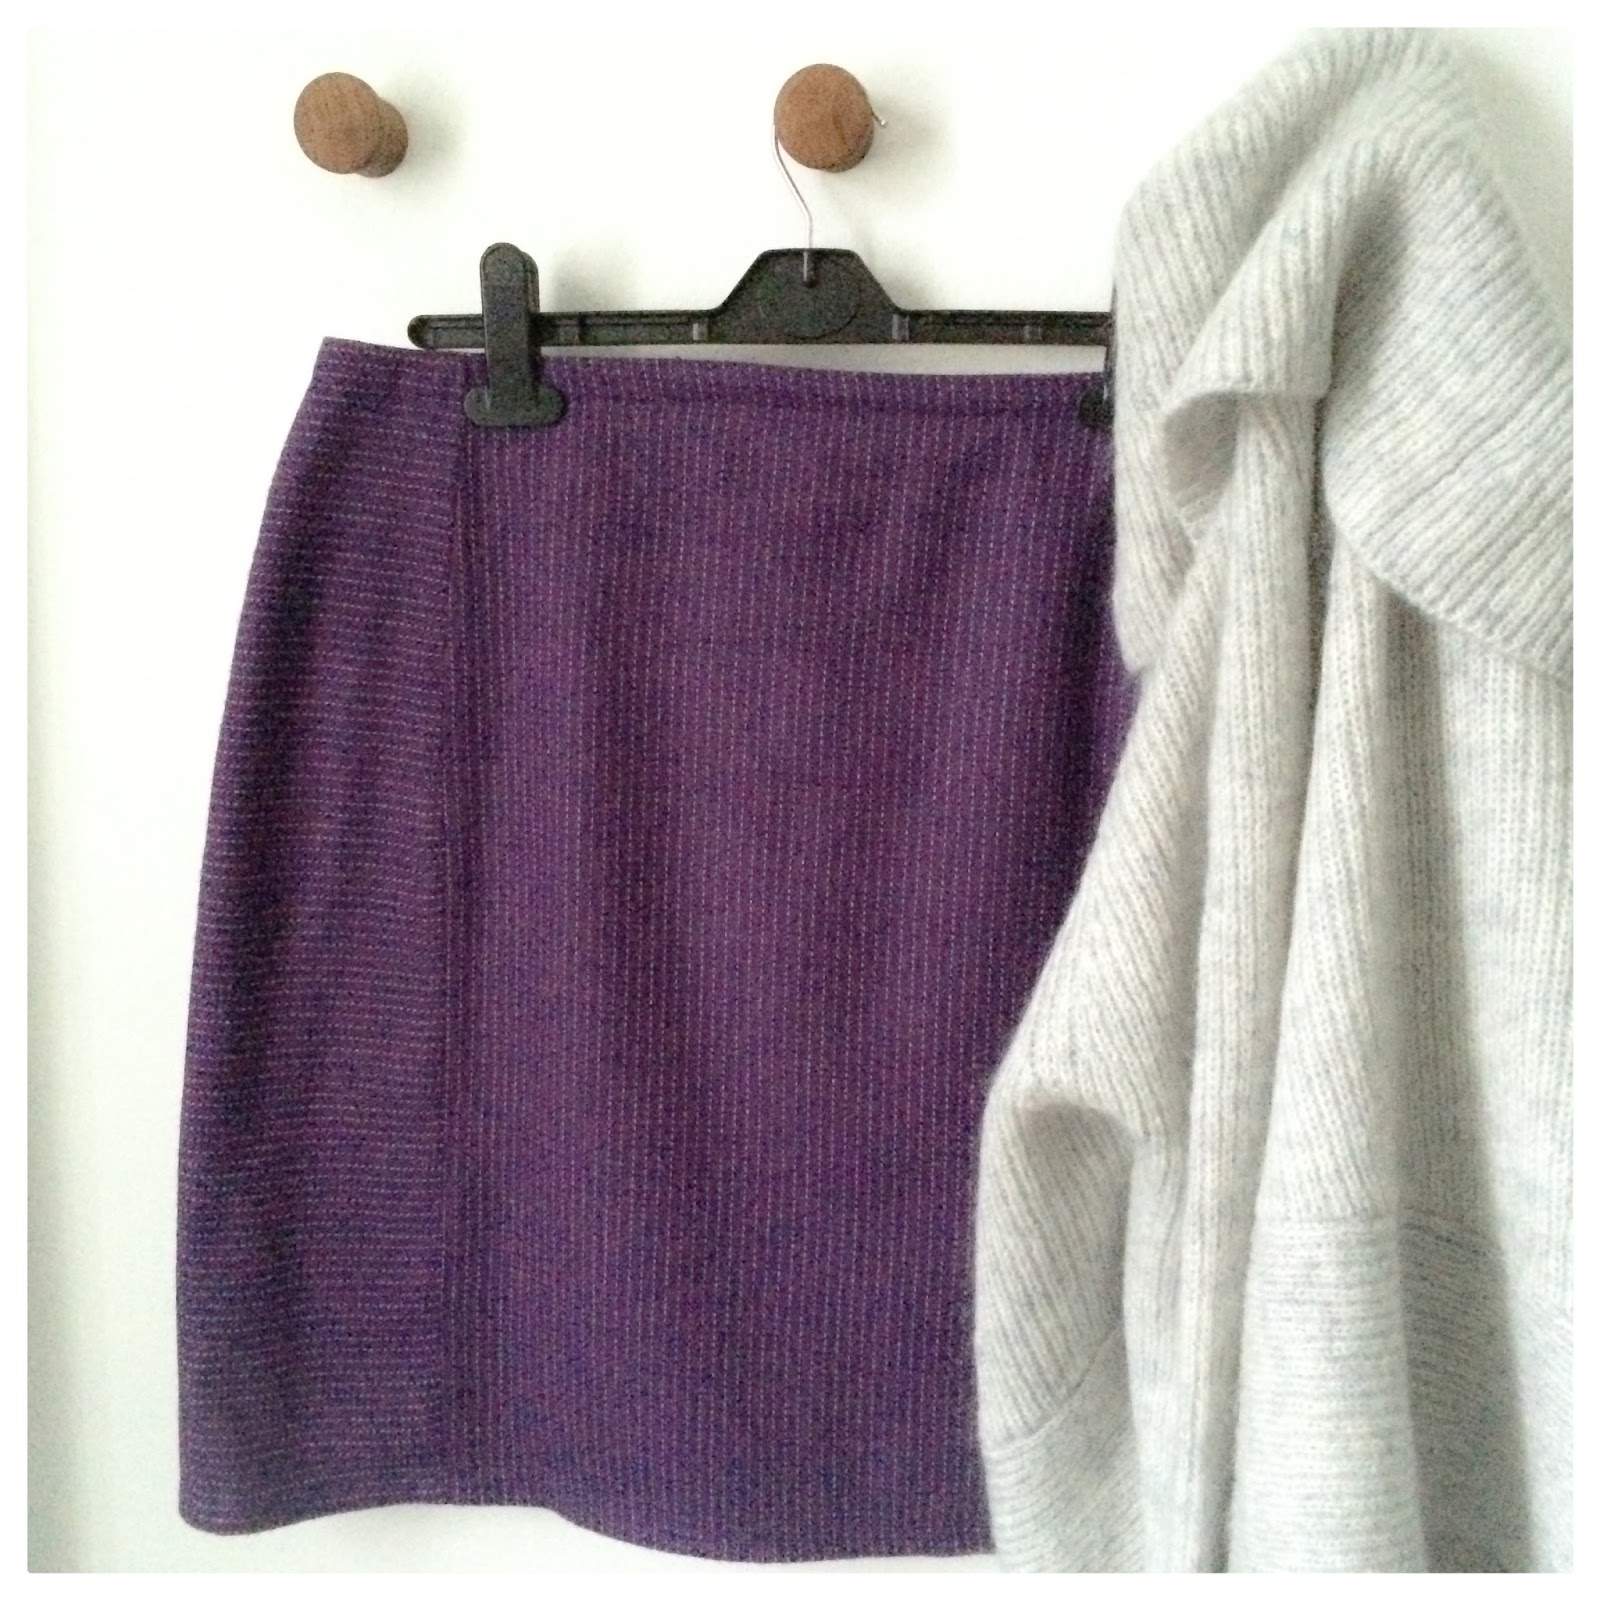
I wanted to share my latest project, a wool pencil skirt.  I m super happy with this make - I tried really hard on the details of it -I m notoriously messy with the insides, but inspired by some other sewers on #bpsewvember on Instagram encouraged me to try a bit harder on that front!!

Here is the pattern & the fabric.  The wool is from Sew Over It and I totally love it- its a beautiful colour & great quality.   The lining is from Goldhawk Rd and the McCalls pattern I got with a magazine a few months ago (bought the mag for the pattern as I knew it was ideal for my skirt).


To add some interest to the skirt, i wanted to have stripes going down for the main panel, then horizontal stripes on the sides ....  Here are the pieces before I started.

 And here is a closer up at the fabric!


So how did I get on -  I wasn't super happy with the pattern to be honest.  I cut out a size 12 and I usually don't have to make too many adjustments on the skirt part of patterns, but the one came out really, really huge.  I had to take massive amounts out of the skirt later, which was a real pain.  Luckily I did the lining first so didn't have too many surprises when sewing the wool, but still i found it a pain- especially working with a striped fabric where you want to match things up.

First up, here is the lining:

With the wool, I bound the edge of all the pieces with binding foot- even though you don't see it because its lined it stops it fraying and I m happy just to know its there & looking so neat!


Its starting to come together, I was very happy with my zip on this occasion!  Whoop!


I chose to not put on a waistband, instead I used the waistband to create a facing instead. 


And here it is!!


 I found I didn't have anything that looked perfect with it so I went out and bought a couple of new jumpers :)  The one above matches so perfectly- its from Mint Velvet.


And here it is with a denim shirt (after a day at work, so please ignore the fact it looks like it needs a good iron!!!)  ;)


Monday, 4 January 2016

Father Christmas brings me sewing treats


Well what can I say, Father Christmas has great taste in sewing gifts. Look at this lovely lot.... I feel very lucky indeed.

I got 4 new patterns- 2 tops, the Tilly Orla and this Simplicity vintage one and adore both. I had cut out both by Boxing Day, waiting to be sewn 😊✂️

Then these 2 sewaholic ones which I m looking forward to using. 


Next up, Chinelo's book- loved her on the sewing bee, so inspiring and can t wait to have a go! Did anyone try any of these yet? I m thinking the dress with the peplum hemline! Need to go fabric shopping first though. I had my husband take all 26 measurements the book requires last night!!
       
Next up sets of 4 big spools for my overlocker in White, cream, grey and navy. So far I only had black and so couldn t sew any paler colours!
And a book to master my overlocker 
My mum made me a sewing bag with lots of goodies in!  How cute is that!!
And she had a serious spending spree on Liberty fabric which of course was my favourite present I received!  I love all but the top one is my favourite and is already WIP! 

And last but certainly not least my husband bought me a dress form. Which was a total surprise and makes me very happy I wanted one for ages but didn't think I had room for it! Now I ll make room!!  Here she is!!  


And here is a sneak peak of my next project underway. Pattern, fabric and dress form all in use!!!!


I feel very lucky and very spoilt to have so many wonderful gifts!!  Did you get any lovely sewing gifts?

Messyessymakes 
X

Saturday, 2 January 2016

My new year sewing plans!


New year, new plans.  So what is in store for me this year?  I ve got 6 things in my head that I d like to have a go at...
  • Learning new things on my overlocker... not sure what yet, but something other than a basic stitch!!!!  I m interested on how to do hems and decorative stitching too. Any ideas?
  • Attempting a coat for the first time ever!
    • I ve got 3 projects in mind here.  Yes I know going from never making a coat/jacket to attempting 3 is probably a bit daft, but its good to have the ambition!  here are my 3:
      • The Papercut patterns Watson jacket

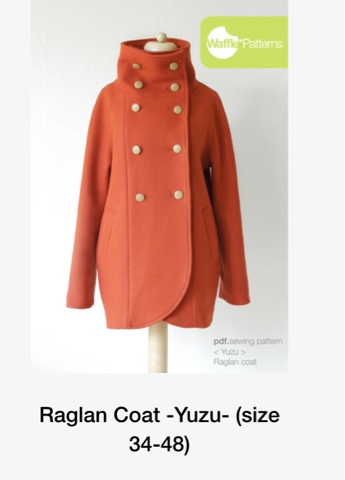
      • The Wafflepatterns Yuzu Raglan coat

      • Some form of blazer with this stunning  Avoca wool fabric I bought.  Any pattern suggestions? I want something quite boxy to work with the large checks...

  • Attempting trousers.  I m scared of making trousers.  I figure its difficult and then fear when I ve made them they either won't fit well or they ll split the first time I wear them.  But I m going to give it a go this year I promise.  I m thinking I may do one of the SewOverIt trouser courses & get stuck in.  Maybe I could use this Corduroy I bought?

  • Making some beautiful blouses with long sleeves. I ve tonnes of things with short sleeves but want some more long sleeved things.  Any pattern recommendations?   This is the first one that is cut out & ready to go.  Its the Tilly Orla pattern in a lovely fabric - I m thinking of doing a denim collar for a contrast & I ve got a great denim zip I can use.  Need to see how its going to look though, not sure whether its a great idea to combine with denim or whether it will look terrible?!
     
  • Freehand!!  I ve got the book, and I want to give it a go!! I had my husband take all the measurements which was quite amusing, now  I need to get stuck in.  Yikes.  Did anyone else try?  I m planning on starting with this dress...
I m thinking of buying this wool herringbone using patter going down for bodice and across for peplum. What do you think? 

  • Making my own pattern up!  I want to do something without a pattern.  I ve got a skirt in mind (similar to a RTW one which is really expensive that i ve seen) and I want to try making a pattern up myself for it.  I bought the fabric already!  Its a heavy weight cotton, almost like denim which feels amazing, its almost velvety!  The photo doesn't really do it justice...

Well that should keep me busy!  What are you planning?
Messyessymakes  x